Showing posts with label necklace. Show all posts

Thursday, November 26, 2015

It's all about you

Crochet Necklace by
Yolanda's Creations
I remember one time wishing I had all the jewelry I could think of possibly having. I used to go to a store (back when I lived in Florida) that was the 'go to' store for all costume jewelry. Fast forward to now...I feel still don't have enough jewelry! Ha!
Hey one can not tell a woman that loves her accessories you have enough...and with that I mean purses, shoes, earrings, bracelets, rings OMG this list can keep going. So you get the picture.

www.yolandascreations.storenvy.com
Crochet Necklace by
Yolanda's Creations
My first creation were earrings and then seed bead necklaces. Let me tell you, now when I look back at those first pieces I am so surprised to see how far I have come. My pieces are better, prettier and more elaborate if I don't say so myself.
So if you are just starting out making jewelry don't think you cant do it. Or it's too complicated. I will say this much I didn't have a 'niche' as some people have said in the past. People used to tell me find your niche and everything will fall in its place.

Well now I found it and it's crocheting along with my beads. I still do both I just incorporate both more every time I get a chance. Listen it's all about you and your moment...if you believe in yourself and believe in what you are making people will see that and learn to appreciate if they don't already appreciate it.

I feel that it's all up to me to have it be all about me..
Find your niche and you will see what you are good at or better at.

Follow, Share, Like on: Facebook  Pinterest  Twitter  Instagram  Ravelry Online shop 


Thursday, September 10, 2015

Trends We Love

From what I see now a lot of the accessories (to me) tend to have a look and feel what years past. I like knowing that I still have pieces of accessories (obviously before I started making my own) that are back in style.

yolandascreations.storenvy.comI have always enjoyed wearing short necklaces and I remember one day wanting to wear a long thin one that I felt would look nice with my outfit. I actual felt like I was going against all accessory rules! I was a rebel I guess...I wore it!
yolandascreations.storenvy.comAnd now look at this it's actually perfectly fine to layer on the necklaces...from short with long or suede choker with a long silver necklaces...I guess in a way it's like stacking your bracelets it no longer needs to be only one bracelet or one color or one type, you can layer the skinny bracelets with chunky bangles or even a toggle.

Be adventurous...give it a try!

Follow, Share, Like on: Facebook  Pinterest  Twitter  Instagram  Ravelry Online shop 

Thursday, August 13, 2015

Crochet Necklace/Bracelet

crochet necklace bracelet,
color: rust thread
amber gold seed beads
Here is something very cute and dainty and I love making these! I love the fact that I can wear it as a necklace or as a wrap around bracelet.


Since I am trying to incorporate all of my talents into multiple uses here is one creation that did from embroidery thread and seed beads.

crochet necklace bracelet
color: agua blue
blue opague seed beads
I start off by stringing about 100 seed beads (using a needle to help string them) and if I plan on using a charm I will string that as well or if you forget to string the charm that is fine too just use a jump ring to secure it wherever you want afterwards.  Anyway, so string all your beads and crochet away.  I would crochet 3 single crochet and bring one of the beads and crochet that into my next stitch and I would continue to do this til I got to the length I wanted my necklace to be.  Now keep in mind this is what I did so that it can accommodate my wrist and the length I want for a necklace you do what you feel you want and need to accommodate what you want. 

Once I reached the length I wanted (which is approximately 20 inches long) I would then close it off by making a loop and I would attach my bead or button afterwards.  Remember when creating your loop you want to make sure whatever bead or button you want to use will fit through your loop.
Be creative with this idea…you can use hemp (which I did as well), embroidery thread, friendship thread, Aunt Lydia’s yarn (3ply) which is very thin (I used this as well)  FYI: with the Aunt Lydia’s yarn I found I could find more variety of color at Joann’s.  Most of my threads I purchased from AC Moore or Michaels.  

Follow me  on: Facebook  Pinterest  Twitter  Instagram  Ravelry Online shop


Thursday, July 9, 2015

Crochet with thread

yolandascreations.storenvy.com
Awhile back I was venturing in creating things by using crocheting thread (Aunt Lydia's to be exact).  I will say that for me it was the hardest thing to work with because of how thin it is.  As I kept working on this challenge I did find out that it took a lot of practice for me to get used to working with a thin crochet hook.

Well I am happy to say that after several months of practicing I think I have the hang of it.

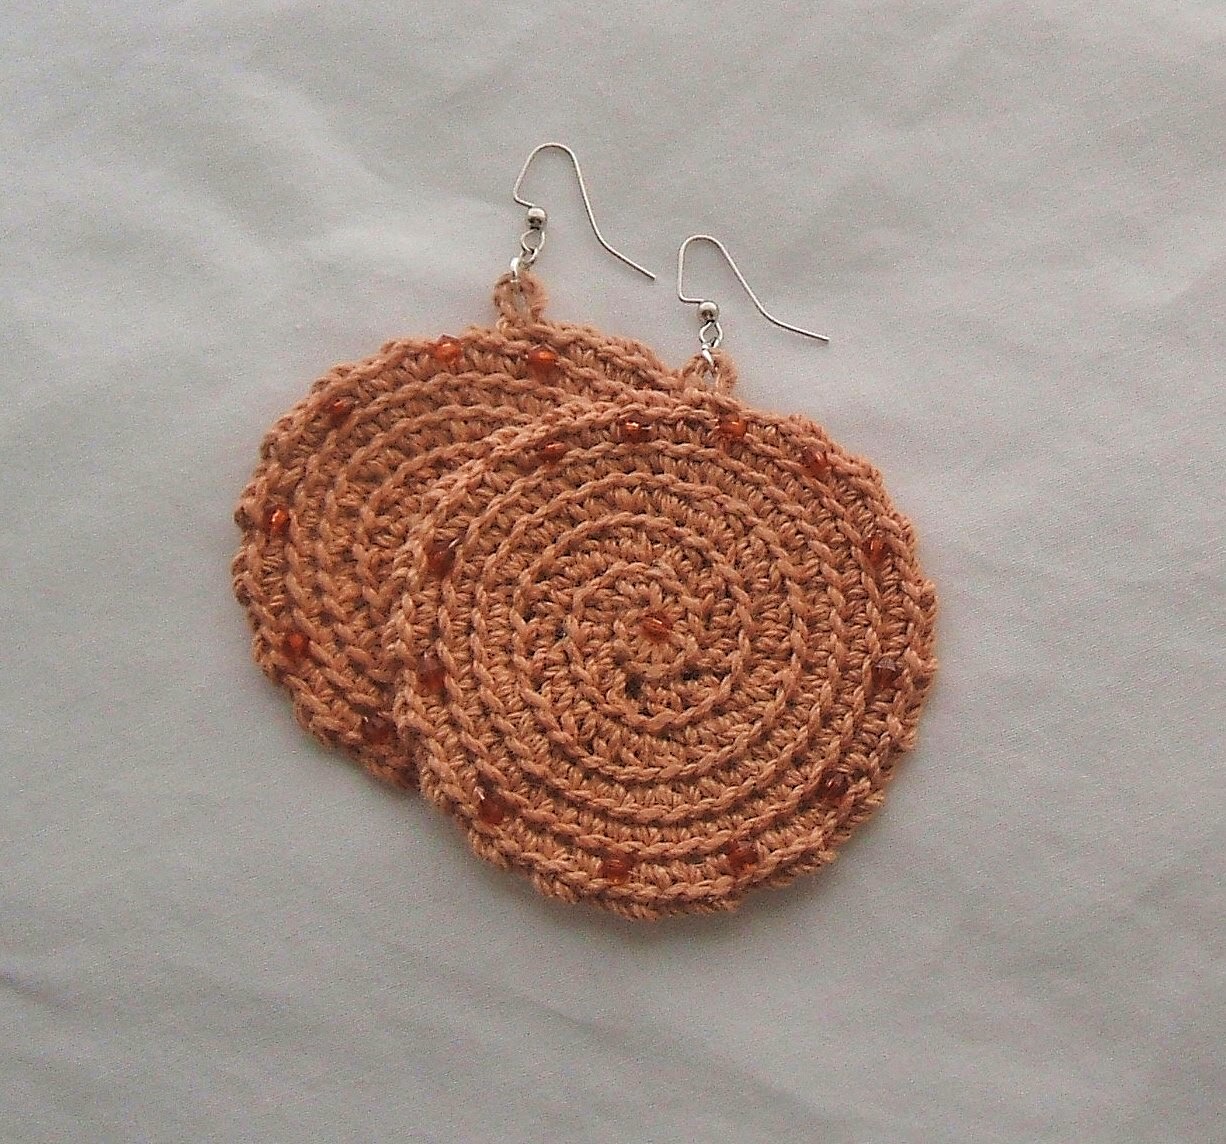
I made a couple of necklaces, earrings and bracelets and I have added some 6/0 seed beads ...which by the way are one of my favorites for jewelry making. 

So as I was saying, I started making the see cute sassy necklaces, earrings and bracelets in a variety of lengths and width.  I totally love layering with other jewelry pieces that are not in the same material.  I totally love these!

yolandascreations.storenvy.comNow for the necklace and bracelet I have used the embroidery or crochet thread or floss and for all of them I strung 60 to 100 of the seed beads, then I chain 3 and then bring up a bead and repeat this process til I get it to the length I want.  For the earrings I don't string the beads first I actually crochet the piece and then hand sew the beads on.

So as I said before, here is something that I now can add to my bag of need tricks of crocheting.
Enjoy these pics!


Follow me and my blog...help local small businesses make a difference.
 
Follow, Share, Like on: Facebook  Pinterest  Twitter  Instagram  Ravelry Online shop
 

Thursday, May 28, 2015

Antique Metal Necklaces

When I started making these I was mesmerized by some that I saw in a trendy store.  I said to myself wow these are so funky and can be worn with just about anything.  What I noticed was that they did look like they were made in a hurry there was nothing that made me want to buy them.  However, it did make me want to make some…but I didn’t have any of those metal chains at home. 

So one day I was going through my old jewelry box and came across some old metal necklaces that I used to wear (more like chokers) and came across a few long ones which were actually belly chains.   So I decided well I am not wearing these anymore and I loved the style of the antique metal so I started cutting it up and making it into a necklace.  I would sometimes combine more than one to make a longer necklace.

Needless to say I fell in love with the way it looked that I ventured to Michael’s and found a variety of metal chains and components (Later on it became what was called steampunk…or maybe it was always called that  and I just realized it after the fact LOL).

Most of my necklaces are long and some are short but most are long.  I like the way they make a business outfit look young and fresh and not so stuffy.

These are all fun pieces for me.  This is such a fun piece! To think the must for this creation was an old broken belly chain!?  I feel that all of my antique metal necklaces and bracelets are classic yet funky.  You can mix and match the styles of the chains and pendants to make whatever your heart desires.  Try making some today you will see how much fun you will have making them.

Details: Antiqued bronze colored metal , glass beads, measures 21in long.
 

Follow me and my blog...help local small businesses make a difference.

Follow, Share, Like on: Facebook  Pinterest  Twitter  Instagram  Ravelry Online shop

Monday, May 11, 2015

Accessories Accessories...

ribbon wrapped bangle
I have always loved to have one or two or more accessories …as long as it didn’t look tacky or way over the top.  You know accessorizing the right amount of everything.


fabric necklace multi color
When I started making jewelry it was all about the necklaces and earrings.  Then I ventured into making all sorts of bracelets from toggle to lobster clasp to bangles.  Then when I started to crochet (thanks for my mother) I started to crochet necklaces, bracelets and earrings and scarves to shawls – talk about accessorizing! 
Who would’ve thought right?  That you can make so much with so much...especially since I already had pretty much the basis.
 
faux pearl, wood and metal
toggle bracelet
crochet earwarmer/headband
fabric cover button ring
Well I also took the opportunity to utilize my sewing skills (again thanks to my mother) and would do as much as I could with fabric and the sewing machine.  Oh wait let’s not forget I also would get the essential items to do fabric covered rings.


silver plated hoop earrings
amber glass beads
I can honestly say from where I started almost 10 years ago to where I am today I just keep evolving and making more things time and time again. 

Sometimes I will take something I made a long time ago and restore it and renew it to give it a new life.  
crochet small hairband
with flower & button

So here are some of my past and present items from beads to yarn.  The wrapped bangle I used a bangle that I purchased from DIY Bangles and the yarn is from Lion Brand called Incredible, the fabric necklace I purchased the t-shirts from AC Moore to make these, the earwarmer this my mom crochet and sewed the crochet flower on to it with a button(she's so creative),  the toggle bracelet I purchased all of the materials from Michaels, the hoop earrings I purchased the hoops and beads from AC Moore, the fabric covered ring I purchased the ring base from Oriental Trading and the button covers from JoAnn's and last but not least the small hairband I crochet the flower from leftover yarn and used a hair band from the Dollar Store.
Follow me and my blog...help local small businesses make a difference.

Follow, Share, Like on: Facebook  Pinterest  Twitter  Instagram  Ravelry Online shop


Sunday, January 26, 2014

Crochet Necklace/Bracelet #2


Purple
Embroidery Floss
with Purple Seed
Beads & Charm
I wanted to showcase some more of my crochet embroidery necklace/bracelet.  I have always found it challenging for me using the thinner crochet hook that is meant for the ever so thin yarn or thread.  Here I actually didn’t find it so challenging.  Especially because the yarn wasn’t that super thin. 

I have mentioned this before but I will mention it again, here I took some crocheting thread , hemp or embroidery floss (the link will give you an idea of what I am talking about however, I purchased my first pack at AC Moore) and crochet them with beads to wear in a necklace or bracelet.  You do need to string your beads through it first before you start to crochet.  Remember the end product should be the length you want it to be so that you are able to wrap it around your wrist where it’s not super tight on you and yet still be able to wear it as a necklace ( am able to wrap mine around my neck twice but prefer to wear it like a lariat).
 

So you can use any light weight yarn (get the yarn type from Aunt Lydia’s and/or the embroidery floss that you can use to make friendship bracelets) crochet hook that will work for with the yarn, seed beads, a charm and/or a button.

Natural Hemp with
 Red Seed Beads & Red Button
To string your beads (6/0 size seed beads) use a regular needle that will fit the beads together with the thread or yarn.  Now string the beads all the way through the thread (I used about 100 give or take) and then start to crochet away.  The entire thing is all the same simple stitch…single crochet.  So for me I would crochet 3 sc and slip a bead through then continue with the same thing til I got through all my beads.
 
When you get it to the desire length you want you crochet a hoop and close it off (like a slip stitch) and attach your button or pretty bead to the other end and close it off.  Now you have a duo purpose necklace bracelet. These are fun to make try it! I enjoy wearing these in the summer where I can dress it up with another necklace to add more pizzazz to it.


Monday, January 20, 2014

Statement Necklaces

The latest trend I have noticed are statement necklaces.  Funny that that’s considered a trend now…it’s always been a classic (to me).  You wear something that makes a statement – in a necklace! Yes a necklace!

I have always been a fan of your jewelry sayng something not something being said of your jewelry (in a bad way).  You always want your necklace to say something beautiful that compliments your outfit, your face, your shoes etc.
Here is one of my versions of a statement necklace.  It’s made with one of my favorite components antique metal which I actually purchased in the clearance section at Michaels.  I also added some pieces that were leftover (orphan beads as they call them) to these pieces.  The other piece is from an old necklace (upcycle) that I had in a box.  It needed to be bought back to life. So I did, I added new gold plated rings and chains and now I think it has a new purpose.  I do go through a lot of my old pieces and give them a new life. You'd be surprised what you can take that is old and not used and repurpose the pieces for a totally new look and design.

To me a statement necklace should be something that copliments you all the time…make it pretty, make it be you!

Saturday, July 27, 2013

Jersey Necklace

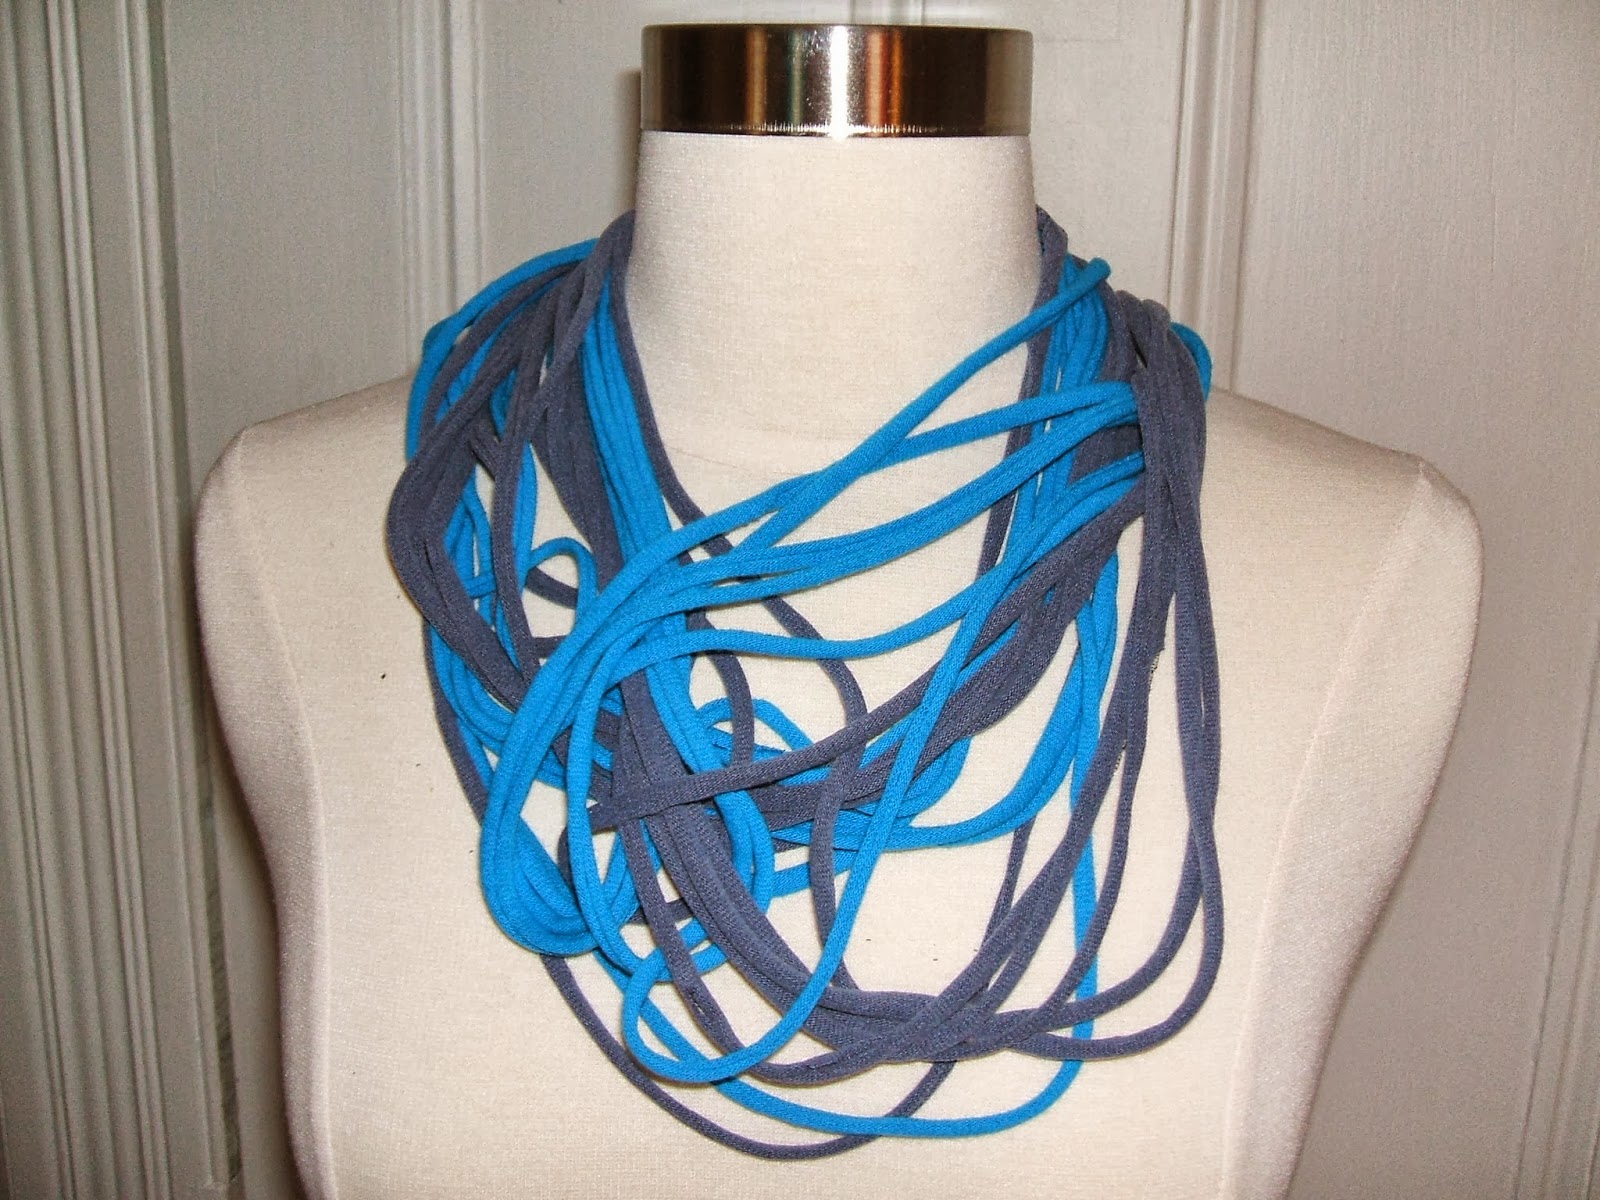
Fabric Necklace

I have seem some of these on line and as I have mentioned before I get curious to see how I can make something out of something I already have.  My husband was getting rid of some t-shirts and I didn’t want to just throw them away I wanted to see what else I could do to up cycle them you know?  I mean sometimes I keep them for myself or I make doggie sweaters.
So I started to Google my way around online till I came across fabric necklaces. "How to make a necklace out of a t-shirt".. (amongst other things you can do with this).   So I went for it.

Well I did my first one last year 2012 and never really did anything with it.  Then I started to take all these t-shirts I had and decided to move forward and make them into necklaces since I love accessories.  Give me another reason to create something out of something I have. 

What I did notice online was that most of them were just t-shirts of the same color or mixed color strips and that was nice and all but it seemed as if though it was missing something…so I looked around  my beads and buttons and saw this cool button that I had in my button stash and decided wait a minute I can add this to it and still keep it the same color but with a little more personality.
I actually worked on old t-shirts before I started to buy the t-shirts (I ordered two so far from Joanns.com and I was lucky that day they were on sale and then I went to my local AC Moore and purchased 3 others all in colors I wanted to work on and guess what they were on sale as well) to make these.  Now I am totally in love with making these things.  Not only are they light in weight but you can manipulate them however you want wear it long or short. 

I also discovered that the t-shirt needs to be one with no sewn seems on the side.  It has to be how can I say this ummm one complete piece all the way around so that when you cut them into strips and stretch it - it won’t come apart. Trust me once you cut one and pull on it you will see what I mean if you do it off of one that has the sewn sides.  But hey even with that you can make them into a bracelet or headband so it’s not the end of the world you can still do something with a t-shirt even if it has the sewn sides.
So my next pic will be what I do with the t-shirts that are sewn on the side ...I will keep you in suspense... stay fabulous and I will see you later.