Showing posts with label fabric. Show all posts

Thursday, July 2, 2015

Crochet Clutch Purses

www.yolandascreations.storenvy.com
acrylic yarn (grey)
I tell you I love it when I put my mind to make something and it comes out fabulous!
I made these 3 clutch purses using Red Heart Super Saver yarn and Lion Brand Vanna’s Choice yarn.  The buttons I purchased online at Joann’s Fabric.
www.yolandascreations.storenvy.com
acrylic yarn (black)
The black one with the polka dot embellishment I did sew a lining and a zipper along with two black buttons.  The embellishment is from Jolee’s Boutique and the buttons are from AC Moore. 
The grey one I did line it with fabric as well and the button I purchased was from in Joann’s Fabric .
All of these beautiful creations I crocheted in the same stitch (1/2 double crochet) to give it a more tight look.  I kept doing this til I got it to the size of more or less a rectangle (you can keep crocheting til you get to whatever size you want you don’t have to make it a rectangle).  I would then fold it every once and awhile to just check to make sure I had it in the size I wanted and also to get an idea how much I wanted the front flap to cover or overlap.  I would then try to change the stitch a bit for the fold over part and of course where I was going to make my button holes.


www.yolandascreations.storenvy.com
acrylic yarn (olive)
I then cut the fabric to the length that I wanted to fit inside the clutch and iron it to make sure it wasn’t wrinkled when I sew it to the purse and I would sew the zipper via my sewing machine (this I just happen to look online via YouTube to get the ‘how to sew a zipper’).  Once I was done with the zipper being sewn I would then hand sew the fabric (that has the zipper attached already) to the clutch. 
I suggest to sew the fabric to the purse by hand only because (for me) There’s been too many times where I have sewn fabric to a crochet item directly on the machine and it has messed up my crochet item…so sew it by hand is what I suggest.  Also these can by hand washed. 

I always say make what you want and what you like and let your creative juices go to places you never thought you could go.  Enjoy making some today!


Wednesday, May 20, 2015

Rings Galore

If you love rings like I do then you know I have to show you these and you are so going to want to make them as well.


turquoise bead
I have mentioned before that my creations evolve from a variety of techniques and materials.  Well here are some to hopefully get your creative juices going to make  your own.  If you have your ring bases (silver plated and/or gold plated of which I have purchased through Amazon.com) and your buttons or beads or you have fabric at hand to use your button covers  then you are all set.

These here are from beads I found on clearance at Michaels (the turquoise bead) and one is a button I found that belonged to a winter coat which I no longer had (you know the spare button you get in clothing just in case you lose one of the buttons) and the other is from leftover fabric.


fabric button
button ring

Now for the turquoise bead I had to file down the two round hooks that were in the back to get it to be flat.  Get yourself a really good jewelry bonding glue (E6000) which you can pretty much get a Joann's, AC Moore or Michaels.  You don't need a lot of this glue trust me it's very good glue and it will adhere your ring base to your earring.

For the leftover fabric ring make sure you cut your fabric in a circle (the  button covers comes with a card board to guide you in cutting the fabric) and once you have covered the cover you glue it to the base.

The one that is a button I did have to file down as well the round hook in the back where you would normally sew your button to the fabric.  And then use the glue to secure it to the ring base.
I am telling you will love making these and their uniquely yours…no one else has them!!!

If you like what you read here please subscribe to my blog or visit my online shop and view all of my other fabulous creations.

Thank you for stopping by. 

Follow me  on: Facebook  Pinterest  Twitter  Instagram  Ravelry Online shop

Monday, May 11, 2015

Accessories Accessories...

ribbon wrapped bangle
I have always loved to have one or two or more accessories …as long as it didn’t look tacky or way over the top.  You know accessorizing the right amount of everything.


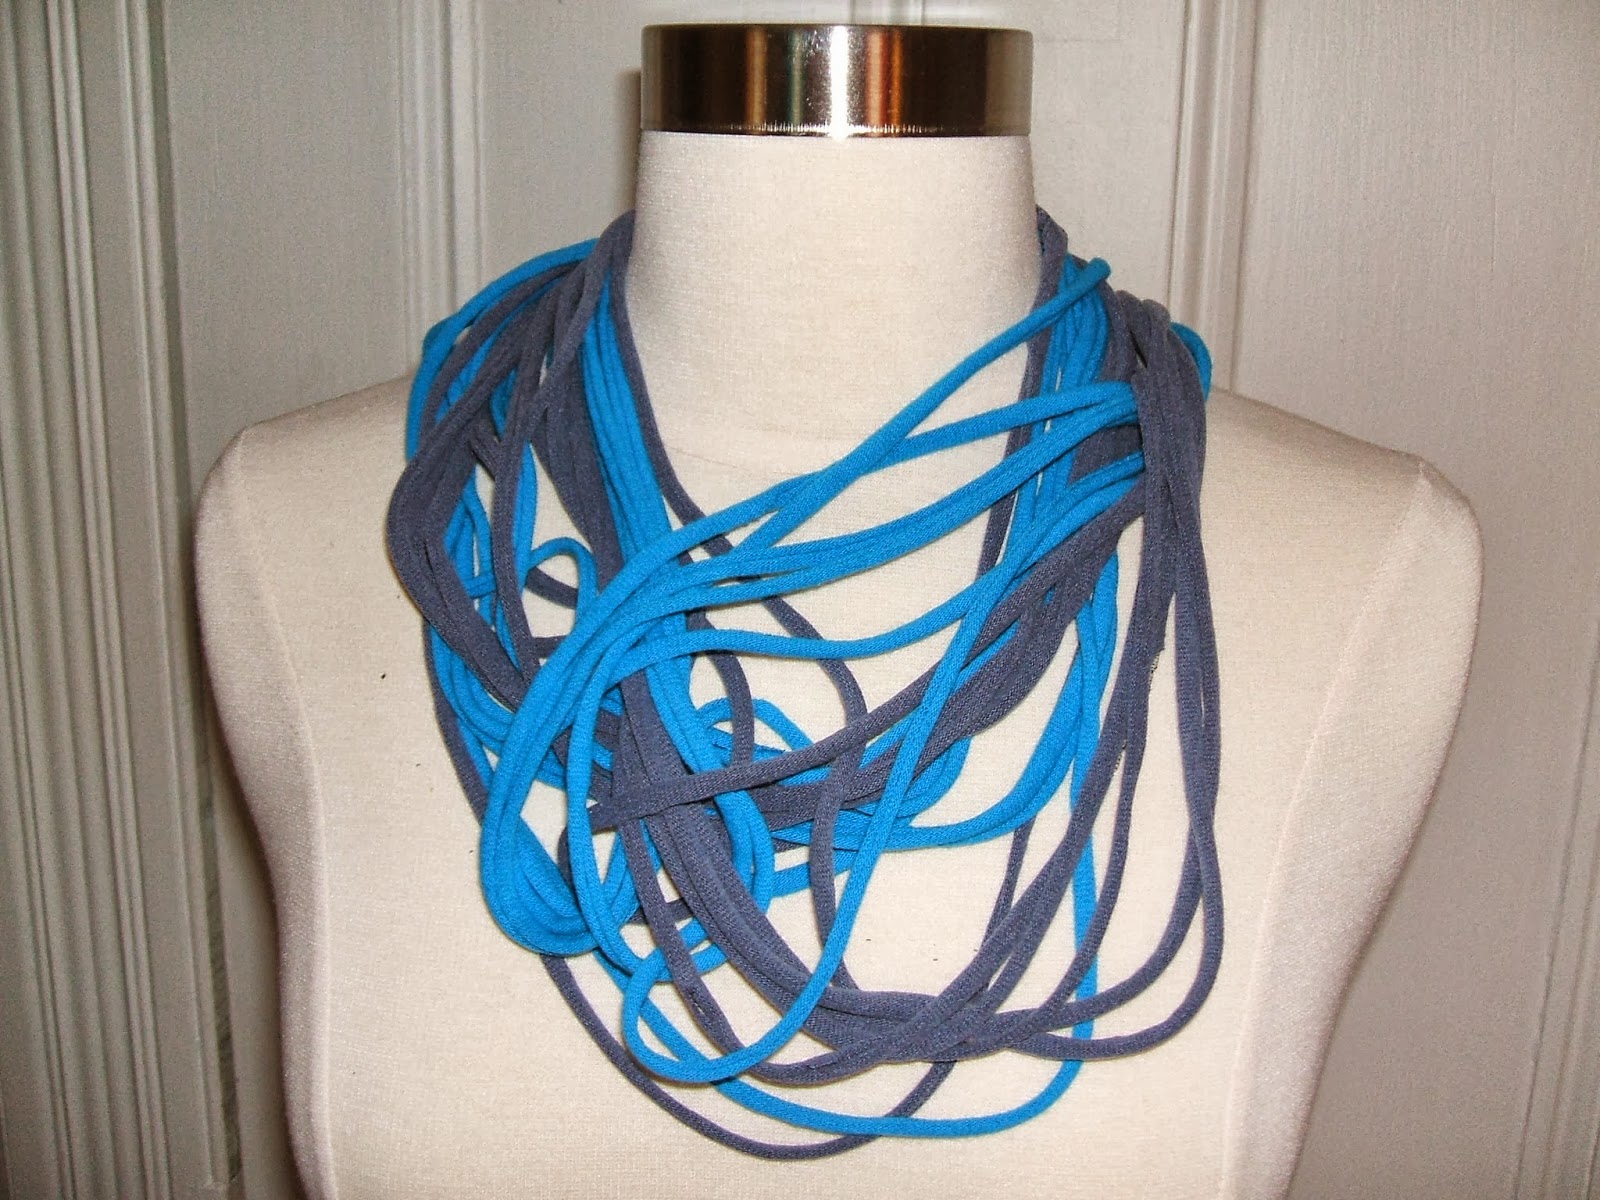
fabric necklace multi color
When I started making jewelry it was all about the necklaces and earrings.  Then I ventured into making all sorts of bracelets from toggle to lobster clasp to bangles.  Then when I started to crochet (thanks for my mother) I started to crochet necklaces, bracelets and earrings and scarves to shawls – talk about accessorizing! 
Who would’ve thought right?  That you can make so much with so much...especially since I already had pretty much the basis.
 
faux pearl, wood and metal
toggle bracelet
crochet earwarmer/headband
fabric cover button ring
Well I also took the opportunity to utilize my sewing skills (again thanks to my mother) and would do as much as I could with fabric and the sewing machine.  Oh wait let’s not forget I also would get the essential items to do fabric covered rings.


silver plated hoop earrings
amber glass beads
I can honestly say from where I started almost 10 years ago to where I am today I just keep evolving and making more things time and time again. 

Sometimes I will take something I made a long time ago and restore it and renew it to give it a new life.  
crochet small hairband
with flower & button

So here are some of my past and present items from beads to yarn.  The wrapped bangle I used a bangle that I purchased from DIY Bangles and the yarn is from Lion Brand called Incredible, the fabric necklace I purchased the t-shirts from AC Moore to make these, the earwarmer this my mom crochet and sewed the crochet flower on to it with a button(she's so creative),  the toggle bracelet I purchased all of the materials from Michaels, the hoop earrings I purchased the hoops and beads from AC Moore, the fabric covered ring I purchased the ring base from Oriental Trading and the button covers from JoAnn's and last but not least the small hairband I crochet the flower from leftover yarn and used a hair band from the Dollar Store.
Follow me and my blog...help local small businesses make a difference.

Follow, Share, Like on: Facebook  Pinterest  Twitter  Instagram  Ravelry Online shop