Showing posts with label rings. Show all posts

Wednesday, May 20, 2015

Rings Galore

If you love rings like I do then you know I have to show you these and you are so going to want to make them as well.


turquoise bead
I have mentioned before that my creations evolve from a variety of techniques and materials.  Well here are some to hopefully get your creative juices going to make  your own.  If you have your ring bases (silver plated and/or gold plated of which I have purchased through Amazon.com) and your buttons or beads or you have fabric at hand to use your button covers  then you are all set.

These here are from beads I found on clearance at Michaels (the turquoise bead) and one is a button I found that belonged to a winter coat which I no longer had (you know the spare button you get in clothing just in case you lose one of the buttons) and the other is from leftover fabric.


fabric button
button ring

Now for the turquoise bead I had to file down the two round hooks that were in the back to get it to be flat.  Get yourself a really good jewelry bonding glue (E6000) which you can pretty much get a Joann's, AC Moore or Michaels.  You don't need a lot of this glue trust me it's very good glue and it will adhere your ring base to your earring.

For the leftover fabric ring make sure you cut your fabric in a circle (the  button covers comes with a card board to guide you in cutting the fabric) and once you have covered the cover you glue it to the base.

The one that is a button I did have to file down as well the round hook in the back where you would normally sew your button to the fabric.  And then use the glue to secure it to the ring base.
I am telling you will love making these and their uniquely yours…no one else has them!!!

If you like what you read here please subscribe to my blog or visit my online shop and view all of my other fabulous creations.

Thank you for stopping by. 

Follow me  on: Facebook  Pinterest  Twitter  Instagram  Ravelry Online shop

Monday, May 11, 2015

Accessories Accessories...

ribbon wrapped bangle
I have always loved to have one or two or more accessories …as long as it didn’t look tacky or way over the top.  You know accessorizing the right amount of everything.


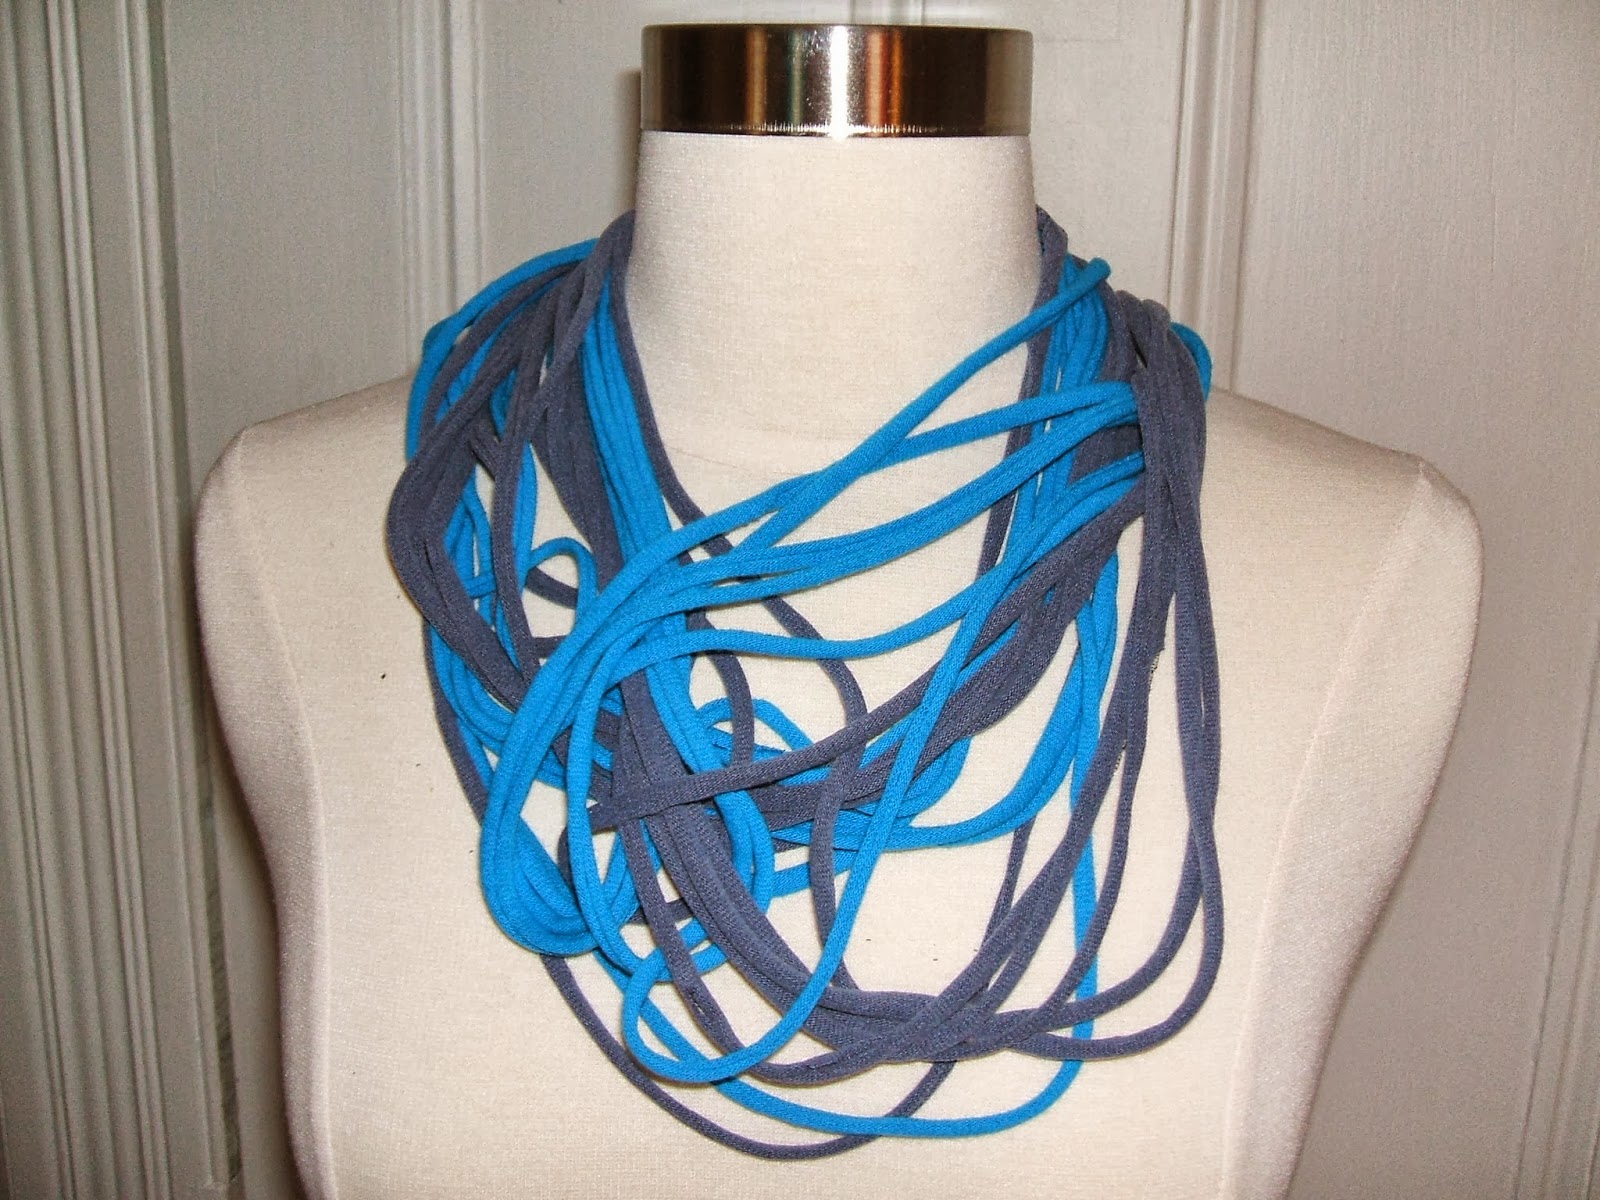
fabric necklace multi color
When I started making jewelry it was all about the necklaces and earrings.  Then I ventured into making all sorts of bracelets from toggle to lobster clasp to bangles.  Then when I started to crochet (thanks for my mother) I started to crochet necklaces, bracelets and earrings and scarves to shawls – talk about accessorizing! 
Who would’ve thought right?  That you can make so much with so much...especially since I already had pretty much the basis.
 
faux pearl, wood and metal
toggle bracelet
crochet earwarmer/headband
fabric cover button ring
Well I also took the opportunity to utilize my sewing skills (again thanks to my mother) and would do as much as I could with fabric and the sewing machine.  Oh wait let’s not forget I also would get the essential items to do fabric covered rings.


silver plated hoop earrings
amber glass beads
I can honestly say from where I started almost 10 years ago to where I am today I just keep evolving and making more things time and time again. 

Sometimes I will take something I made a long time ago and restore it and renew it to give it a new life.  
crochet small hairband
with flower & button

So here are some of my past and present items from beads to yarn.  The wrapped bangle I used a bangle that I purchased from DIY Bangles and the yarn is from Lion Brand called Incredible, the fabric necklace I purchased the t-shirts from AC Moore to make these, the earwarmer this my mom crochet and sewed the crochet flower on to it with a button(she's so creative),  the toggle bracelet I purchased all of the materials from Michaels, the hoop earrings I purchased the hoops and beads from AC Moore, the fabric covered ring I purchased the ring base from Oriental Trading and the button covers from JoAnn's and last but not least the small hairband I crochet the flower from leftover yarn and used a hair band from the Dollar Store.
Follow me and my blog...help local small businesses make a difference.

Follow, Share, Like on: Facebook  Pinterest  Twitter  Instagram  Ravelry Online shop


Monday, August 12, 2013

Rings galore


silver plated round beads
(stacked)
Here I am showing you some of my coolest , cute and funky rings that I created either from  buttons or beads.  My creations evolve from a variety of techniques and materials. 
faux pearl button ring

I first started making the stretch rings with small seed beads or just any bead that I can string and still look nice in a ring formation.  Then I evolved to making them with ring bases (silver plated and/or gold plated of which I have purchased through Amazon.com) with either button covers in which I would covered with fabric pieces that I had. 
I have even made my rings off of old earrings or pins that I would repurpose. I believe that you can repurpose a lot of things if you just use your imagination you’d be surprise what you can make from things you already have.
repurposed ring gold plated
faux pearl
Now let me quickly explain the process on doing the repurpose ring.  Find an earring that you don't use or want to wear but you know it would look fabulous as a ring.  Now remove the post (the little stick that goes into your ear) .  You might need a file to file down the stem part just in case it's not totally flat.  Get yourself a really good jewelry bonding glue (E6000) which you can pretty much get a Joann's, AC Moore or Michaels.  You don't need a lot of this glue trust me it's very good glue and it will adhere your ring base to your earring.
fabric covered button
Here with the fabric covered button this is a great thing to just have even if you are not going to make a ring but you want it for a button in a specific color and texture that you might not find at the store.   I use  button covers and you will have to remove the button hole metal piece in order for you to glue your ring base to the bottom of the button.  Now all depending on the width of the ring that you want to make that would be the button cover you would need to get.  I like to use the ones that are 1 inch wide and 1 1/2 inch wide.  You can add rhinestones on your rings especially the fabric ones or even the metal ones.  Just make sure you go with a thought in mind of what exactly you want to make.
Enjoy looking in your jewelry box and see what might be in there that you truly don't wear anymore that you might just want to repurpose and give it a new life.  I did!